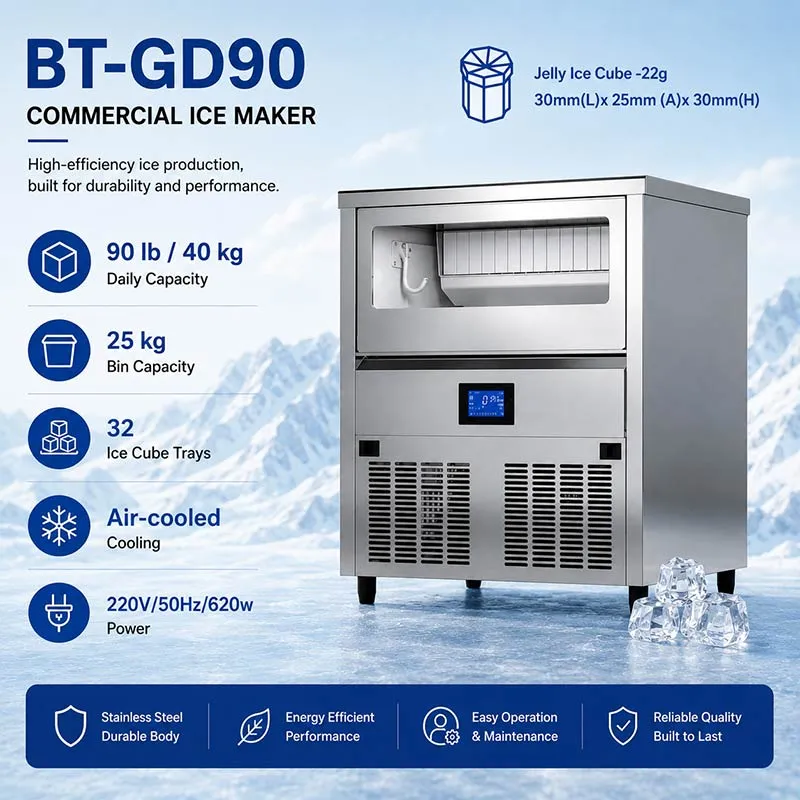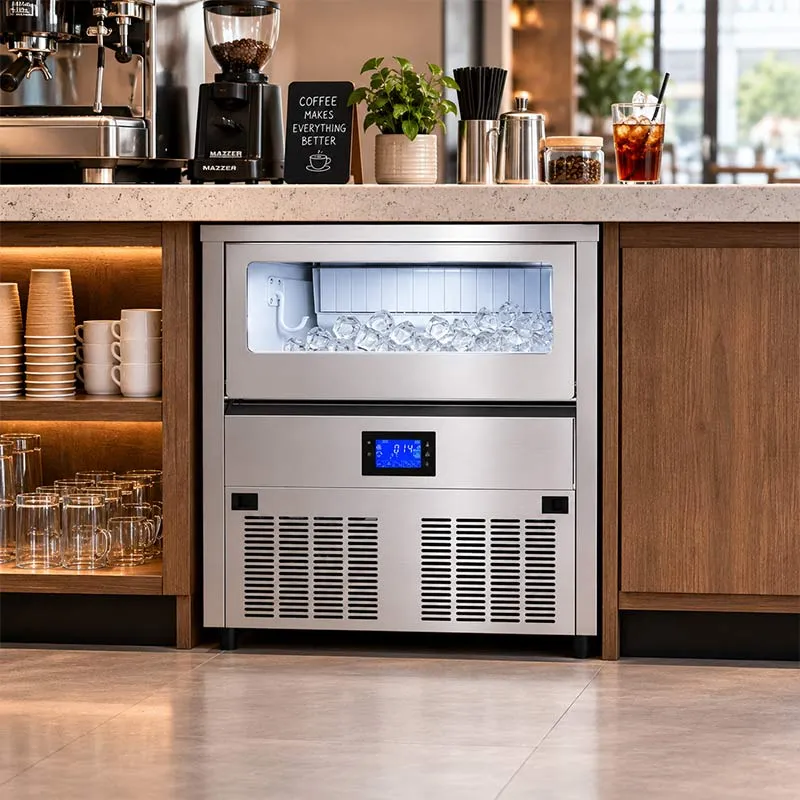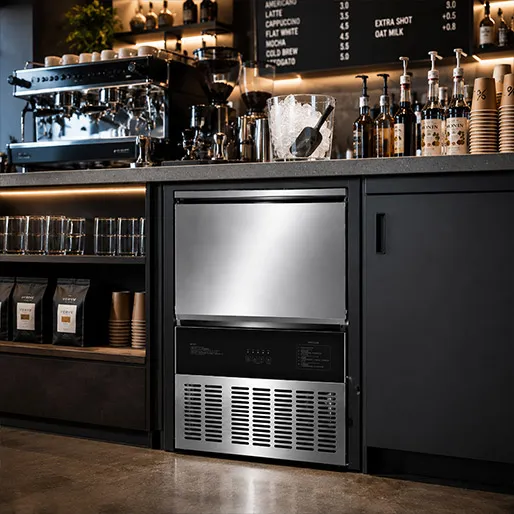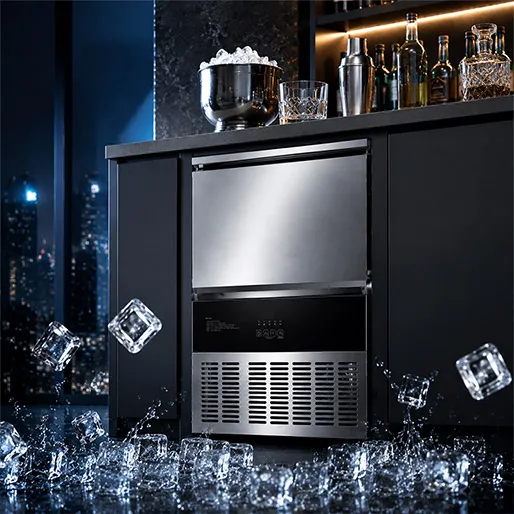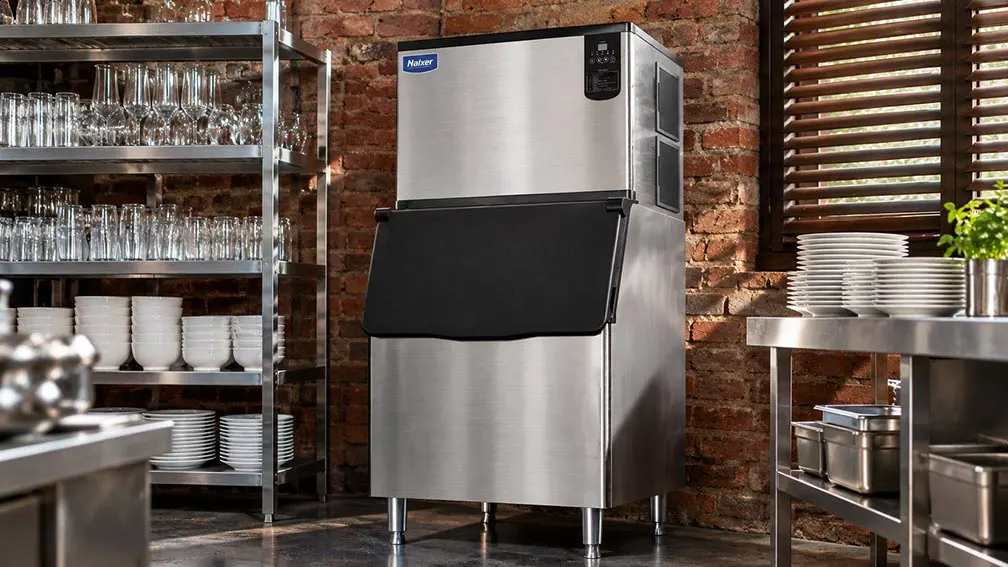
A commercial ice machine is one of the hardest-working appliances in your kitchen — and most of its problems trace back to installation day. Underproduction, leaks, early breakdowns, warranty disputes: in most cases the root cause is the space, water, or power the machine was connected to — not the machine itself.
This guide explains how to install a commercial ice machine the right way, from site preparation to first startup. It covers the exact requirements (water pressure, clearances, electrical service), a step-by-step process you can hand to your installer, and a pre-installation checklist to catch mistakes before they cost money. Specifications follow Naixer’s official installation manual, with notes where equipment varies by model.
In this guide, you will learn:
Quick Answer: What Do You Need Before Installing?
Before your ice machine arrives, confirm five things: a stable indoor location with ambient temperatures of 5–38°C (41–100°F); at least 5 cm (2 in) of clearance around the air vents — 10 cm (4 in) on one side if the room may exceed 38°C; a potable water line delivering 130–550 kPa (about 19–80 PSI) through a 3/4-inch inlet; a grounded power supply matching your model’s nameplate (commonly 220V/50Hz); and a gravity drain with a continuous downward slope. After delivery, let the machine stand upright for 24 hours before powering it on.
That’s the short version. Here’s the detail behind each requirement.
Site Requirements: Where Your Ice Machine Should Go
Position is decided before anything is unboxed — and it determines how well the machine performs for the next decade.
Temperature and Environment
Commercial ice machines are designed for indoor use, in ambient temperatures from 5°C to 38°C (41–100°F). Keep the unit away from ovens, fryers, grills, dishwashers, and direct sunlight. Every degree above the design range drags production down and makes the compressor work harder — if you’ve ever wondered how ambient temperature affects ice machine performance, this is the single most common cause of “it can’t keep up” complaints in summer.
Clearance and Ventilation
Air-cooled machines move a lot of air, and leaving no room around the vents is the most common installation mistake in commercial kitchens. Per the installation manual:
- Leave at least 5 cm (2 in) between the air inlet/outlet and any wall.
- If the ambient temperature may exceed 38°C, keep at least 10 cm (4 in) on one side.
- Never box the machine into sealed cabinetry without planned airflow.
Floor and Leveling
Choose a floor that can carry the machine plus a full bin — that’s the loaded weight, not just the unit. The floor must also be level; once in position, adjust the machine’s feet until it sits level front-to-back and side-to-side. An unlevel machine drains poorly, runs noisier, and can even stop producing correctly.
| Checkpoint | Requirement | Why It Matters |
|---|---|---|
| Ambient temperature | 5–38°C (41–100°F), indoor use | Outside this range, output drops and components work harder |
| Clearance to walls | ≥5 cm (2 in) around air vents | Air-cooled units need airflow to reach rated output |
| Clearance in hot rooms | ≥10 cm (4 in) on one side if ambient may exceed 38°C | Protects production during summer peaks |
| Heat sources | Keep away from ovens, fryers, grills, direct sunlight | Local heat raises the ambient temperature around the unit |
| Floor | Level, solid, load-bearing (account for a full bin) | Prevents noise, poor drainage, and operational faults |
Specifications per Naixer installation manual. Confirm model-specific values before final placement.
Utility Requirements: Water, Power & Drain

This is where an installation succeeds or fails. Here’s what your site needs to provide — and the numbers to verify.
Water Supply
Your machine needs potable water through a dedicated connection with an accessible shut-off valve.
- Connection: 3/4-inch internal-thread connector (20 mm) with a silicone gasket.
- Pressure: the required supply range is 130–550 kPa (about 19–80 PSI). Above 550 kPa, install a pressure-reducing valve; below 130 kPa, fill cycles and production suffer.
- Filtration: always install an inline filter between the supply and the machine to control scale, sediment, and chlorine. To estimate how much water the machine will actually use, see how much water a commercial ice machine uses.
- Flush new plumbing before connecting — construction debris clogs inlet screens and valves.
Electrical Requirements
Match the power supply to the model’s nameplate — never assume a standard outlet is suitable. Naixer machines are commonly rated 220V/50Hz, with larger standalone models (such as the TH-2000B and TH-4000B) requiring 380V.
- Provide a dedicated, grounded circuit — shared circuits are a common cause of nuisance trips.
- Install an accessible disconnect or protected receptacle near the machine, per local code.
- Electrical work should be handled by a qualified electrician. For running costs after installation, see how much electricity an ice machine uses.
Drainage
Every ice machine produces meltwater and cycle discharge, so drainage is mandatory — not optional.
- Run a gravity drain with a continuous downward slope to an approved drain point. Never run it uphill.
- Where local code requires an air gap, provide one; it prevents backflow contamination.
- Water-cooled models need two additional 3/4-inch ports: a condenser water inlet and outlet. Keep both clearly labeled — they are separate from the potable supply.
| Connection | Specification | Notes |
|---|---|---|
| Water inlet | 3/4" internal thread (20 mm) with silicone gasket | Potable water only; dedicated shut-off valve recommended |
| Water pressure | 130–550 kPa (≈19–80 PSI) | Install a pressure-reducing valve above this range |
| Water filtration | Inline filter sized to flow | Protects against scale, sediment, and chlorine |
| Drain | Gravity drain, continuous downward slope | Air gap where required by local code; never run uphill |
| Water-cooled models | Additional 3/4" condenser inlet + outlet | Keep ports labeled; separate from potable supply |
| Power supply | Match nameplate — typically 220V/50Hz; up to 380V for large models | Dedicated grounded circuit; accessible disconnect |
| Stand time after delivery | 24 hours upright before startup | Protects the compressor after transport |
Confirm model-specific water, electrical, drainage, and startup requirements in the applicable Naixer installation manual before installation.
Installation by Machine Type
Every machine shares the same utility basics — water, power, drain — but the format changes how much work installation takes. Air-cooled units dominate most indoor installations; if you’re weighing condenser options, this air-cooled vs water-cooled ice makers comparison covers the trade-offs.
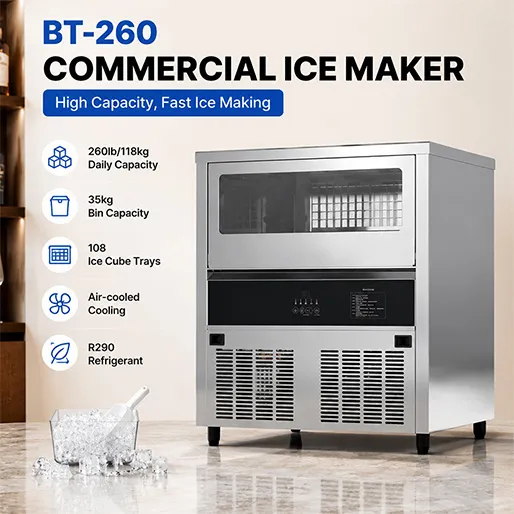
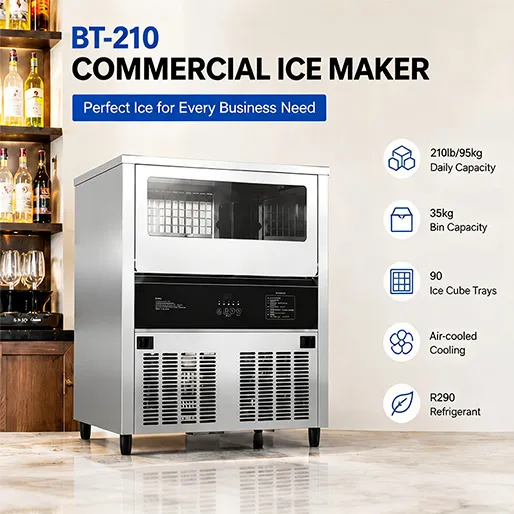
- Self-contained / integrated units (TH-80B–TH-260B, BT-120–BT-260): a single footprint — connect water, drain, and power, then position and level. The easiest format to install.
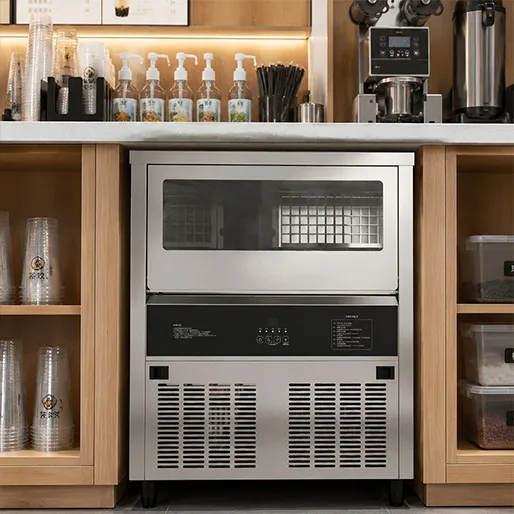
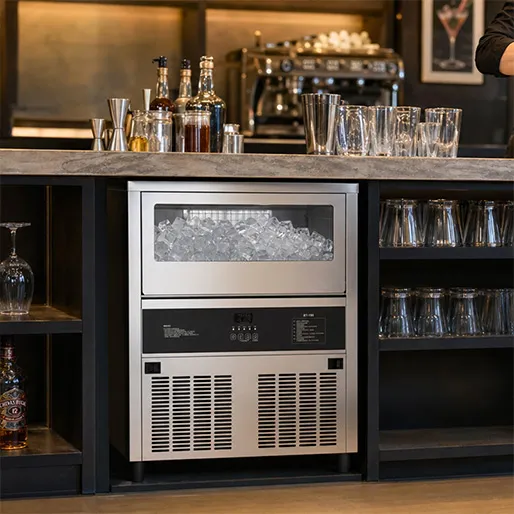
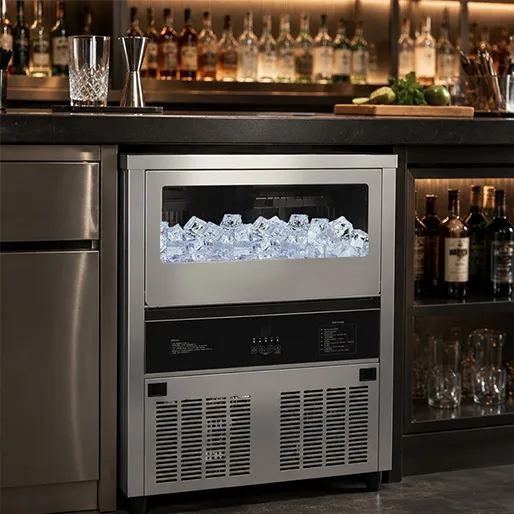
- Built-in / undercounter units (TH-E30, BT series): designed to slide into cabinetry. Measure the finished opening — not the rough drawing — and plan airflow inside the cabinet.
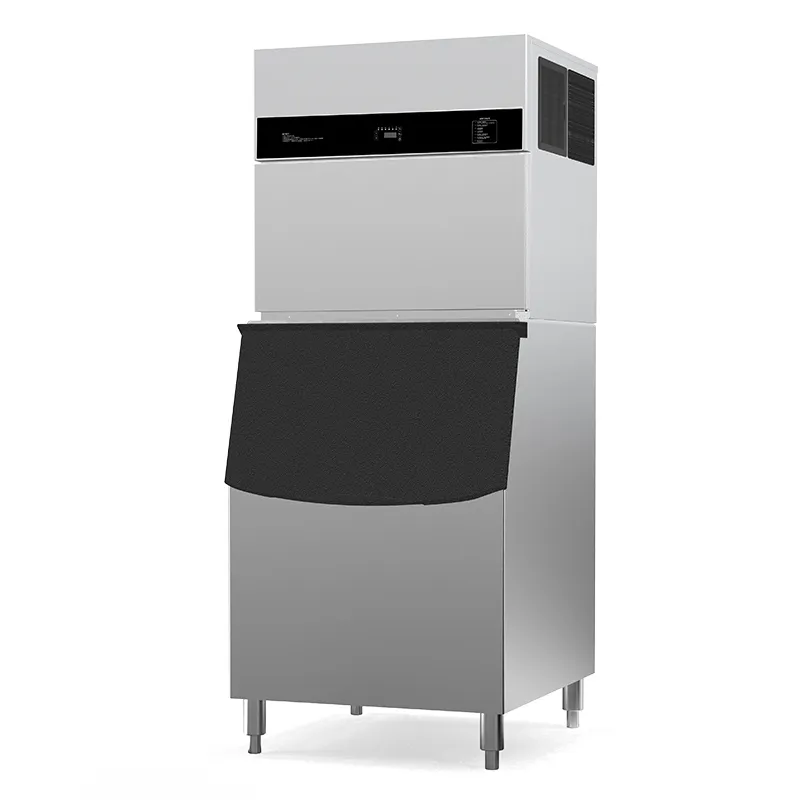
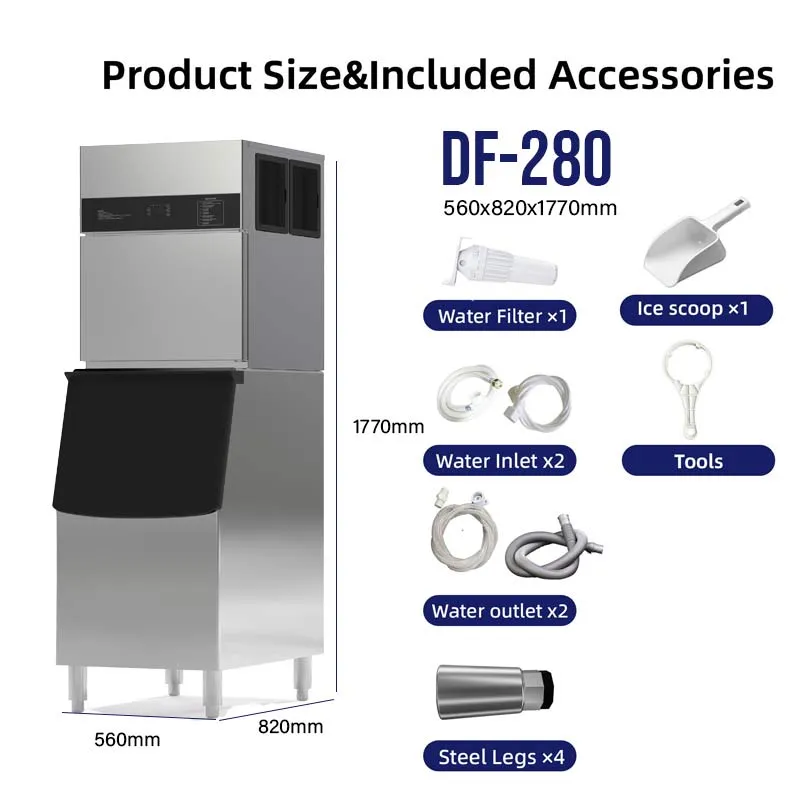
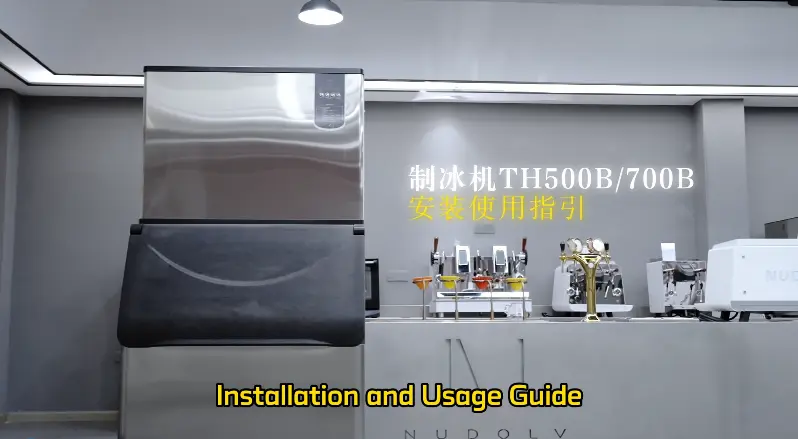
- Standalone / modular systems (TH-500B and up, Series B & C): the head and bin are installed separately, so clearances, leveling, and drain planning apply to both. Larger models may need 380V service.
- Water-cooled models: add condenser inlet and outlet plumbing to the standard connections.
Want to match a machine format to your space? Explore the full commercial ice machine lineup.
| Machine Type | Examples | What Installation Involves |
|---|---|---|
| Self-contained / integrated | TH-80B–TH-260B, BT-120–BT-260 | Single footprint; connect water, drain, power; position and level. Easiest format to install |
| Built-in / undercounter | TH-E30, BT series | Precise cabinet opening and planned internal airflow; measure the finished opening, not the drawing |
| Standalone / modular | TH-500B and up, Series B & C | Head and bin installed separately — clearance, leveling, and drain planning for both; larger models may need 380V |
| Water-cooled | TH-1500B, TH-3000B, TH-4000B, water-cooled SE/DF models | Add condenser water inlet and outlet (two 3/4" ports), separate from potable supply |
| Specialty ice machines | TH-SE (crescent), TH-DF (large cube), ZD-KL60 (nugget), PB-300–PB-1000 (flake) | Same utility base as cube models; validate harvest and ice configuration during the startup test |
Step-by-Step: How to Install a Commercial Ice Machine

The sequence below follows the manufacturer’s installation instructions. Steps 1–5 are manageable for a competent installer; anything involving electrical work should be completed by a licensed electrician.
- Unbox and inspect. Remove the crate, straps, and packaging. Check for shipping damage before signing anything, and confirm the water inlet (white connector), drain (black pipe), and cooling ports are intact. Clean the interior before use.
- Position the machine. Move it to its final location — remember, the delivery path (doors, corridors, turns) matters as much as the final spot. Leave service access on the panel side.
- Level the machine. Adjust the feet until the unit is level in both directions. This protects drainage and keeps operation quiet.
- Connect the water supply. Fit the 3/4-inch inlet connector with its silicone gasket, install the inline filter, and connect to the potable line. Hand-tighten plus a quarter turn — over-tightening damages gaskets.
- Connect the drain. Route the gravity drain with a continuous slope to an approved drain. Install an air gap if code requires one. For water-cooled models, connect the condenser inlet and outlet lines.
- Connect power. Plug into the dedicated, grounded circuit — or have your electrician complete the hardwire. Confirm the voltage matches the nameplate before powering on.
- Wait 24 hours, then start. After transport, the compressor needs to stand upright for 24 hours. Remove all shipping materials, power on, and let the machine complete its first freeze and harvest cycles.
- Verify and test. Check every connection for leaks, confirm bin control stops production when full, listen for unusual noise, and verify the first batch of ice is clean and clear. Then set up your daily and monthly cleaning routine so the machine stays in spec.
Common Installation Mistakes to Avoid
- Boxing in an air-cooled machine. No airflow, no production.
- Skipping the pressure check. High water pressure eventually finds every weak joint; low pressure starves production.
- Using a shared outlet. Nuisance trips and premature component wear.
- Flat or uphill drain lines. Standing water, leaks, and code violations follow.
- Ignoring the 24-hour stand time. Starting immediately after transport risks compressor damage.
- Skipping filtration. Scale and chlorine shorten machine life and hurt ice quality.
- Not flushing new plumbing. Debris clogs inlet screens and valves.
- Unlevel installation. Noisy operation and poor drainage.
If a machine is already showing symptoms after installation — failed loads, ice-full errors, stuck cleaning cycles — our Naixer error codes troubleshooting guide walks through the control-panel messages one by one.
DIY vs Professional Installation
You can handle part of this yourself. Positioning, leveling, and connecting to an existing water line and drain are within reach for a competent maintenance team. Bring in qualified professionals for:
- Any electrical work (dedicated circuits, disconnects, hardwiring)
- Water-cooled condenser plumbing
- Modular systems that require separate head and bin installation
As an industry benchmark, professional installation for standard commercial units typically runs $500–$1,500, with complex utility work costing more. Most single-unit installations take a few hours to a full business day — plus the 24-hour stand time before startup. Getting it right the first time is almost always cheaper than repairing a bad first install.
FAQ
Do you need a water hookup for a commercial ice machine?
Yes. Commercial ice machines make ice on site from a potable water supply. You’ll need a 3/4-inch inlet connection, water pressure between 130–550 kPa (about 19–80 PSI), and an inline filter.
Who can install a commercial ice machine?
A qualified equipment installer can handle positioning, water, and drain connections. Electrical work typically requires a licensed electrician, and water-cooled or modular systems may need refrigeration expertise. Assign responsibilities in writing before installation day.
Do plumbers install ice makers?
Plumbers commonly handle the water and drain side — supply line, shut-off valve, filter, and drainage. They generally don’t handle electrical or refrigeration work, so most projects involve more than one trade.
How long does it take to install a commercial ice machine?
Most single-unit installations take a few hours to a full business day, depending on site readiness. Add 24 hours of stand time after delivery before the first startup — the compressor needs to settle after transport.
How much does it cost to install a commercial ice machine?
As an industry benchmark, professional installation for standard units typically starts around $500–$1,500. Complex installs — new water lines, electrical work, or water-cooled plumbing — cost more. Get a site survey before you commit.
Does a commercial ice machine need a drain?
Yes. Meltwater and discharge from freeze/harvest cycles must drain away. Most installations use a gravity drain with a continuous downward slope; where local code requires it, an air gap prevents backflow. Never run a gravity drain uphill.
Can I install a commercial ice machine myself?
Partially. Positioning, leveling, and connecting to existing water and drain lines are realistic for competent teams. Electrical work, water-cooled plumbing, and large modular systems should be handled by qualified professionals. Also confirm whether self-installation affects your warranty coverage.
What water pressure does an ice machine need?
Naixer machines require a supply pressure between 130–550 kPa (about 19–80 PSI). If your line pressure is higher, install a pressure-reducing valve; if lower, check the flow rate and plumbing size before installation. Not sure which machine fits your production needs? Start with our ice machine size calculator.